Creative Pebble V3 and Live! Mic M3 Review
Tech Specs
| Speaker System | 2.0 |
| Bluetooth | 5.0 |
| High Gain Switch | Built-in / Automated switch for compatible USB-C devices / Manual switch for USB-A devices |
| Driver | Improved 2.25″ full range speaker driver |
| Power Output | Total System Power: Up to 8W RMS1 Peak Power: Up to 16W |
Getting Creative
The team at Creative very kindly contacted us to review some of their products, including their Pebble V3 speakers and their Live! Mic M3 microphone. Being in the market for some speakers as I don’t own any, and always looking to upgrade my mic as a streamer, I was keen to get stuck in! First we will cover the Pebble V3 speakers, before moving onto the microphone further on.
Minimalist Aesthetic
Appearance isn’t everything, but it definitely helps! The Pebble V3s are designed with minimalism in mind, with black or white to choose from. I was sent the white version, which is perfect for my clean white set-up! They’re fairly light and relatively small, fitting in both my palms quite nicely; they don’t take up much space at all.
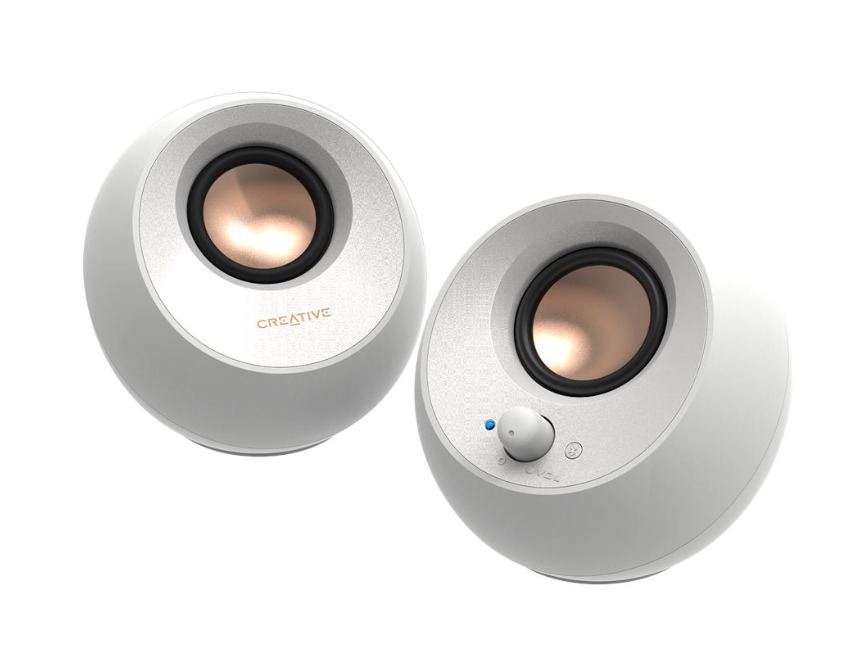
A 4.4ft cable connects the left to the right satellite, and then a further 4ft cable connects to your computer for both power and audio. I found these were suitable lengths, allowing me to have the speakers either side of my two monitors. This also creates less clutter, subtly blending in with my white desk to keep my set up looking clean.
Though powered by USB-C, the Pebble V3s come with a USB-C to USB-A converter, so you’re covered on both ends.
Speak to Me
When buying speakers the two things I judge the audio on is its clarity and its volume. And oh boy, are the Pebble V3s both. For a small pair of speakers at an affordable price point, I was extremely surprised by how loud they could go while keeping clear too. Whether I was blasting music, watching YouTube or catching up on TV shows, every word and note was of good quality. The top volume is a little too loud when you’re sitting down next to them, as it’s probably not good for your ears, but you can adjust to suit you. It does let you hear absolutely everything with some amazing bass though!
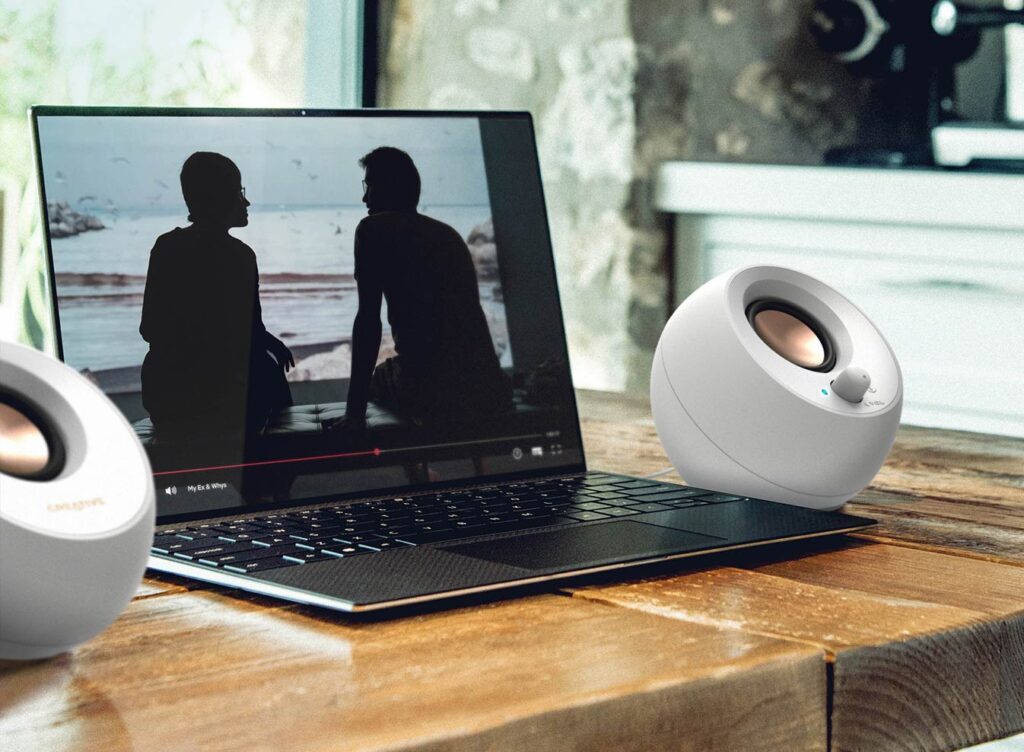
The speakers actually come with Clear Dialog audio processing, so that speech isn’t lost in the surrounding sound effects or music. Sometimes I do find I have to turn up things to hear the dialog properly, but with the Pebble V3s it was always clear no matter what volume. I am really impressed with the listening experience they provide.
There is also a built in gain switch; using the high gain mode amplifies the audio, being able to handle “acoustics power of 8W RMS and peak power of up to 16W” for the tech savvy readers. When I played with the switch, the high gain mode was noticeably louder and clear for that extra oomph.
Wireless Tunes
The Pebble V3s can also be switched to Bluetooth Mode, though it’s important to note the speakers still have to be powered via USB. This is very easy to do; just hold down the Bluetooth button to start pairing, and select the speakers in your device’s Bluetooth settings. Just like that, I was playing music from Spotify in no time. I had to turn the volume up on my phone as well as the volume knob on the right speaker to achieve the highest volume. This threw me at first thinking the speaker didn’t match the same volume via Bluetooth, so just remember to do this as it’s an easy fix!
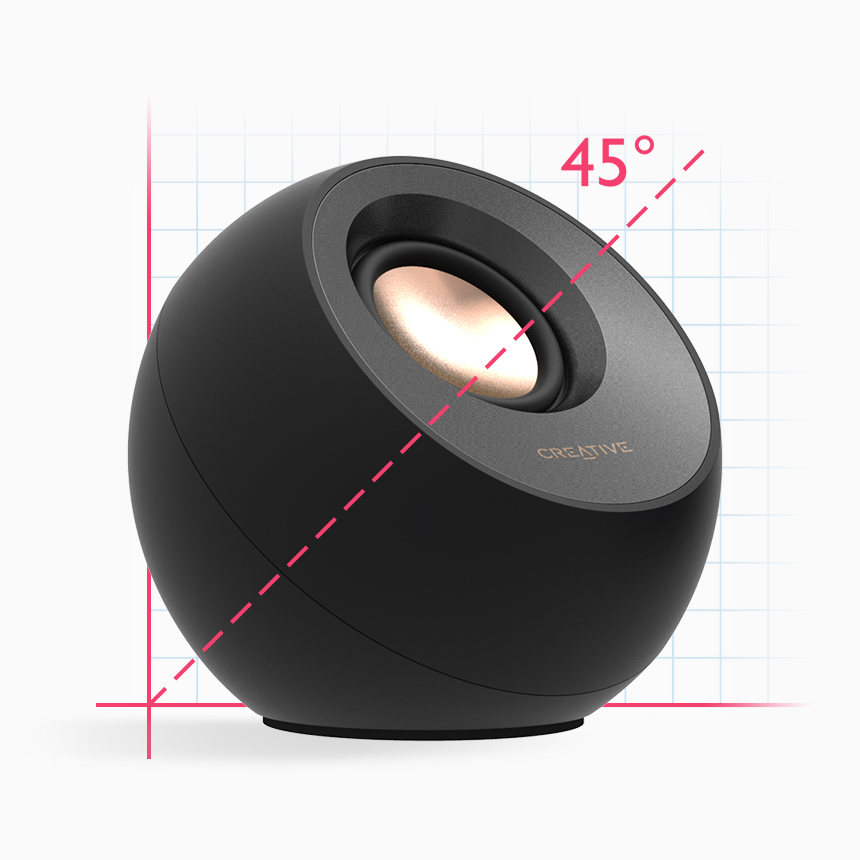
There’s also an AUX-in jack if you have another audio player and your own AUX-cable. I thought it was great for Creative to offer flexibility and cover a range of different connections.
I am very happy with the quality of these speakers for such a good price, and would recommend them to anyone looking for excellent quality on a budget. What’s more, they are perfect for a clean set up and very easy to use.
Rapid Reviews Rating

5 out of 5
5
You can purchase the Pebble V3 speakers from the Creative site here.
Let’s Go Live!
Tech Specs
| Microphone | Polar Pattern: Cardioid and Omni-directional Sensitivity (@ 1 kHz 0 dB = 1V / Pa)For Cardioid Pattern: -35 ± 2 dB For Omni Pattern: -36 ± 3 dB |
| Supported Playback and Recording Resolution | Recording: PCM Stereo 44.1K / 48K / 88.2K / 96 kHz, 16 / 24-bit Playback: PCM Stereo 44.1K / 48 kHz, 16-bit |
| Headphone Monitoring | Recording: PCM Stereo 44.1K / 48K / 88.2K / 96 kHz, 16 / 24-bit Playback: PCM Stereo 44.1K / 48 kHz, 16-bit |
| Power | micro USB port, DC 5V 200 mA |
| Controls | Supports mute and unmute microphone feature Supports direct volume level adjustment during mic-monitoring |
Now we’re moving onto the Live! Mic M3; I currently have a pretty generic microphone from Amazon, since I stream on Twitch. Being a gamer too and communicating with friends while playing, I like to know they’re not being irritated by dodgy mic audio. Coming in at £54.99, double the price of what I paid for my current one, is it worth the upgrade? Let’s take a look.
Sleek No-Nonsense
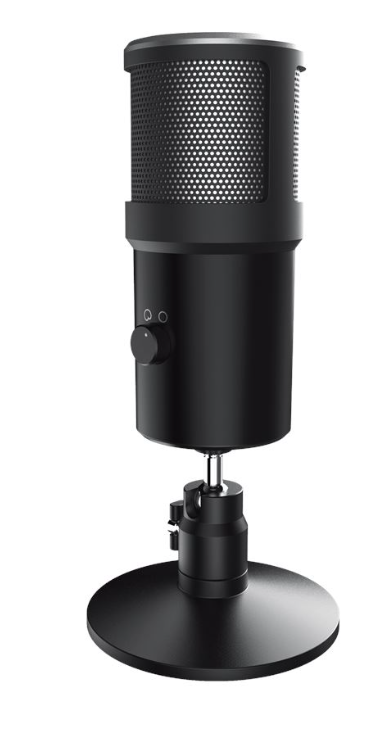
Similar to the speakers, the Live! Mic M3 is quite minimalist with a few buttons we’ll discuss later. The black blends in well next to my monitors, and though it has some surprising weight to it because of the stand, it doesn’t take up much space with its compact form. Following the instructions, it was very easy to put together with no tools required. I was a fan of the magnetic pop filter as it’s easy to attach and remove as you please!
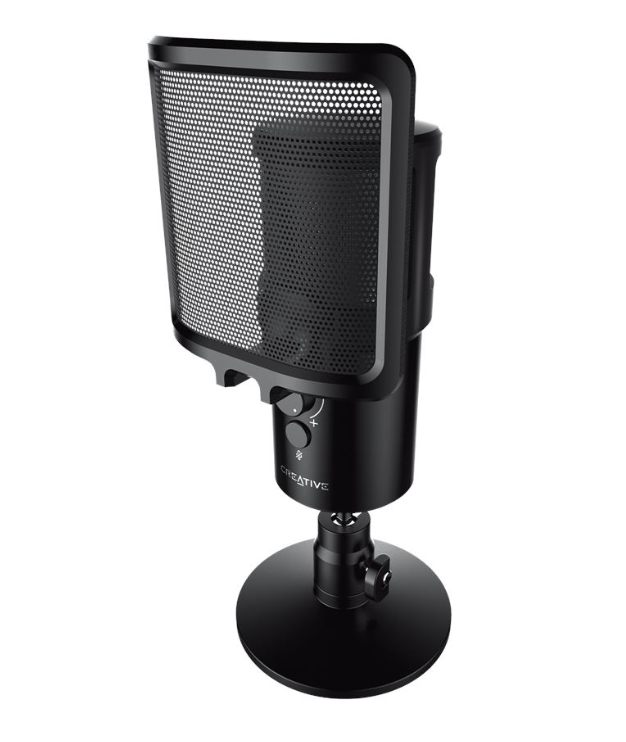
The detachable and adjustable stand is useful to angle the microphone for your needs, allowing a 90° tilt angle with 360° rotation. This can then be locked into place which I found was quite sturdy. It can also be used with “any common standard tripod setup that supports 1/4-20 UNC thread”. I would definitely like to invest in an arm or something similar to the image below, since I felt the microphone needed to be slightly closer to my face. Unfortunately with my current set up, my desk being quite small with little room, this wasn’t really possible with just the stand unless it obscured my monitor. This isn’t a fault with the microphone itself.

Raise Your Voice
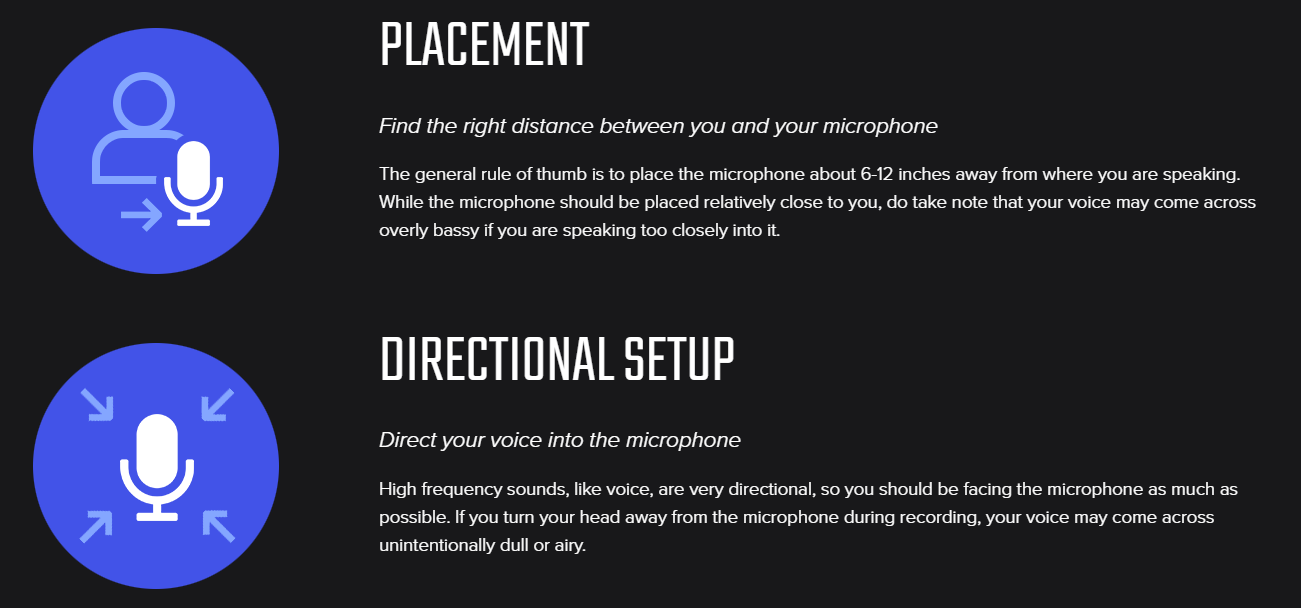
Since I record audio while streaming, it gave me a great way to compare the Live! Mic M3 to my current microphone. Looking at clips, it was obvious there were less harsh noises and distortion, making my voice a lot clearer. You can actually achieve a recording of up to 24-bit / 96 kHz, which Creative shows you how to do on their website. I did notice it was quieter at first, but adjusting some settings and my set up helped with this. Creative again come through with some useful information on how to have the clearest audio possible, such as placement and directional set up.
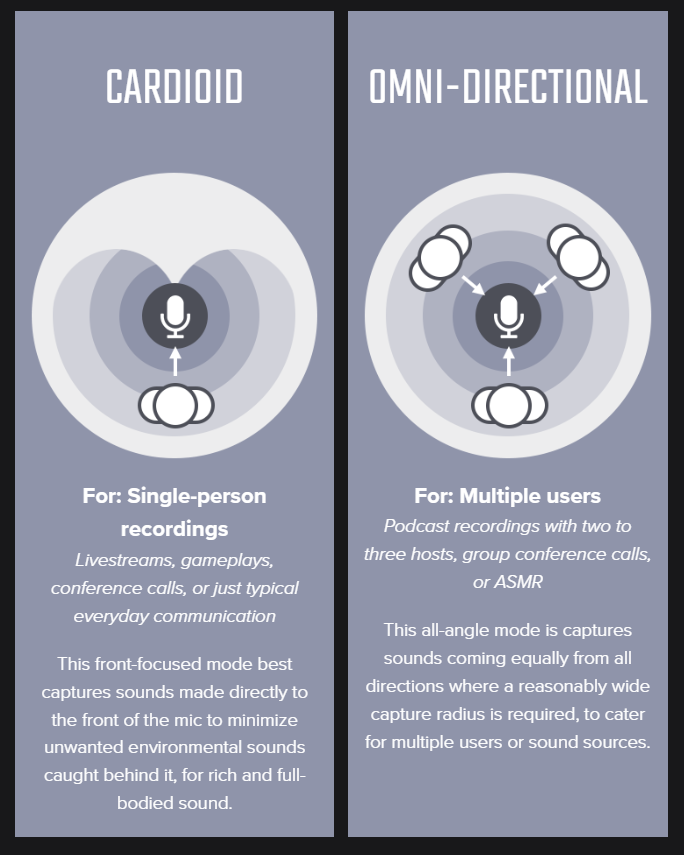
The Live! Mic M3 has a variety of features to help achieve this clear audio. The Dual Polar patterns are designed to cater to different set ups; you can switch between Cardioid and Omni-directional using the button on the back of the mic. Cardioid is for single person recordings, and Omni-directional for multiple users. Since I want to minimize environmental noises while streaming, I used Cardioid, but it’s good to have this flexible and easy way to switch between them.
The mute button, with its LED indicating red for muted and blue for unmuted, is something my current mic doesn’t have so I loved this inclusion. You never know when the doorbell will ring or you get an unexpected phone call while recording! The pop filter then reduces plosive effects, which I think is what made an impact on my audio, making it less harsh. I tend to scream a lot playing Dead by Daylight, and they were less distorted too! I have a mechanical keyboard as well which, particularly as it’s next to my mic, makes a lot of noise. However, they didn’t seem as agressive with the Live! Mic M3.
Feeling a Buzz
Real-time mic monitoring is also available, using the headphone jack at the bottom of the microphone. Creative does explain how to do this too, with the volume knob on the front of the mic adjusting the headphone playback volume. This is really helpful to gather information on where extra noise is coming from. I have noticed on my streaming software the microphone levels emitting a low sound, so I plugged my headphones into the mic to investigate. I could hear a low buzzing, realising it was actually the sound of my PC coming through, though it isn’t extremely loud.
Fortunately, this sound doesn’t come through when watching clips back, so it isn’t a massive issue. Since the Cardioid mode is meant to extinguish environmental noises, it does make me question whether a more expensive mic would eliminate this, or whether it’s just unavoidable. Perhaps some better placement on my part is needed, or it’s time for a PC upgrade!
Overall, the Live! Mic M3 offers great quality at an affordable price. Being able to adjust for different set ups with the dual polar patterns, the mute button and the magnetic pop filter are all handy features. It’s taken me some time to play with settings and I’m still trying to get it to how I want it, but this is not an issue with the mic itself but rather my lack of space and needing to rearrange my set up! It’s definitely a valuable upgrade to any set-up if you’re currently at a beginner level.
Rapid Reviews Rating

4.5 out of 5
4.5
You can purchase the Live! Mic M3 from the Creative site here.

You can find and read our reviews on OpenCritic.



One Comment
Pingback: